
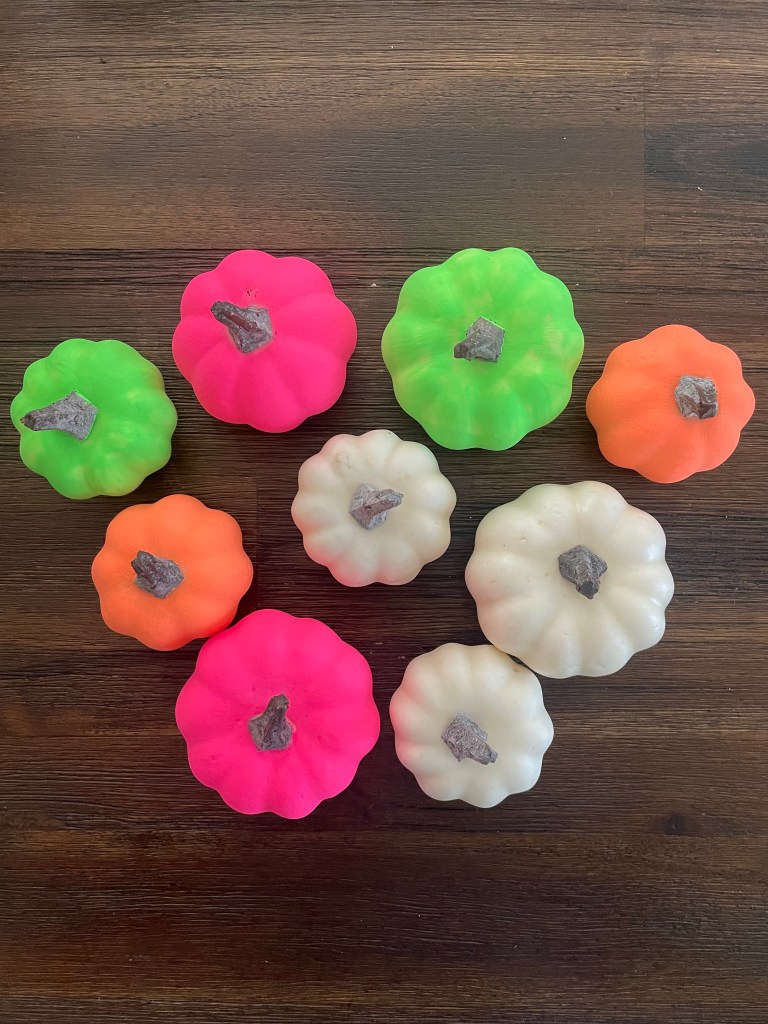
I like summer but I love fall most of all. The crispy colorful leaves on sidewalks, cozy sweaters, football season, and pumpkin EVERYTHING forever has a hold on my heart. With stores full of autumn or Halloween decorations and supplies, I felt inspired to make a colorful pumpkin wreath. I played around with the idea of more muted colors but decided instead on bold neon’s with hints of black. Plus a neon pumpkin wreath works with my Halloween vibes. By my Halloween vibes I mean nothing scary – only cute!

Check out below for instructions on how I made this pumpkin wreath along with links to supplies from Michaels Crafts.
Supplies:
- 36 mini pumpkins
- 14 in. Foam Wreath Form
- Craftsmart Matte Paint: Neon Pink, Neon Green, Neon Orange, Black
- Glitter Web Ribbon
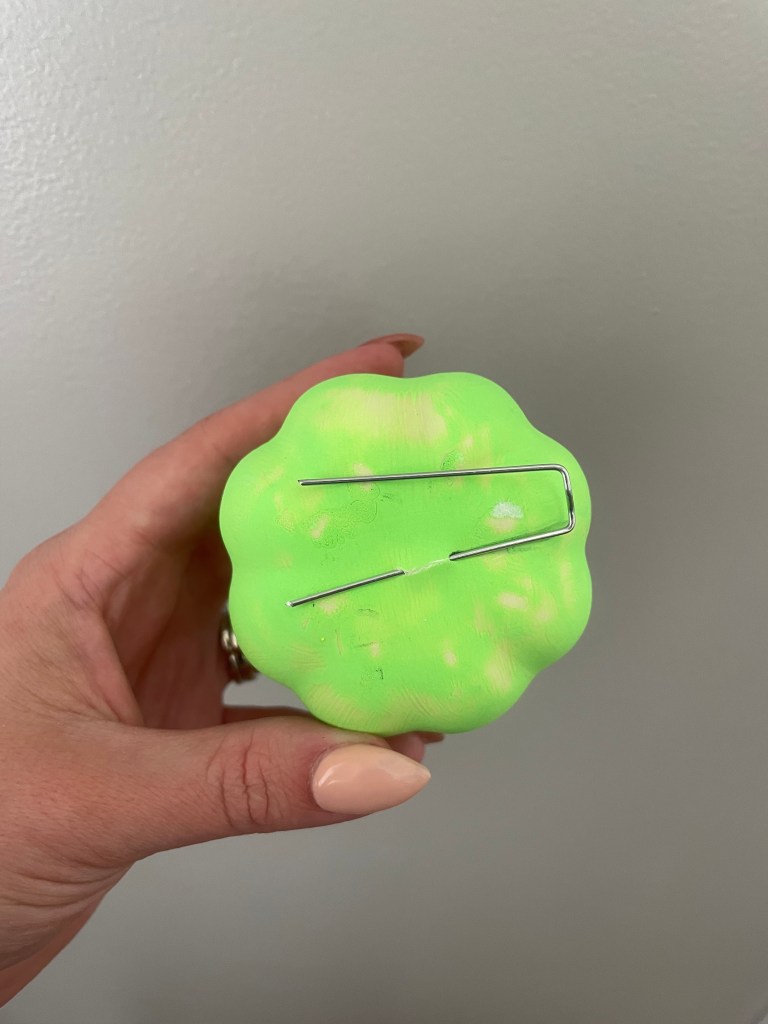
- Greening Pins
- Hot Glue Gun
- Paint Brush
- Scissors
Instructions:
Begin by painting the pumpkins three neon colors. There should be 12 pumpkins of each color. This will take multiple coats so make sure that you are letting each coat fully dry before applying the next.
Paint the foam wreath form black. Let dry entirely.
Using the greening pins, carefully poke through the bottom of each pumpkin to attach it to the foam wreath.

Begin pushing the pumpkins into the wreath form in a desired pattern. You will have some of the side close to the back of the wreath form show but that is okay. If you want you could use a dot of hot glue on the bottom of the pumpkin where your greening pin is while you work your way around. I used only the greening pins for about a quarter of the wreath to ensure I liked the placement, then went back and secured with the hot glue.
Cut a 5-6 inch piece of the glitter web ribbon.
Attach using the greening pin to the wreath form between pumpkins. Repeat until desired look is achieved.
I used the same glitter web ribbon to create the hanger. Using greening pins and hot glue, fasten a piece of ribbon about 7 inches in length to the back of the wreath.
Hang on the door or wall and enjoy!
